The Power of Proceduralism: Geometry Nodes
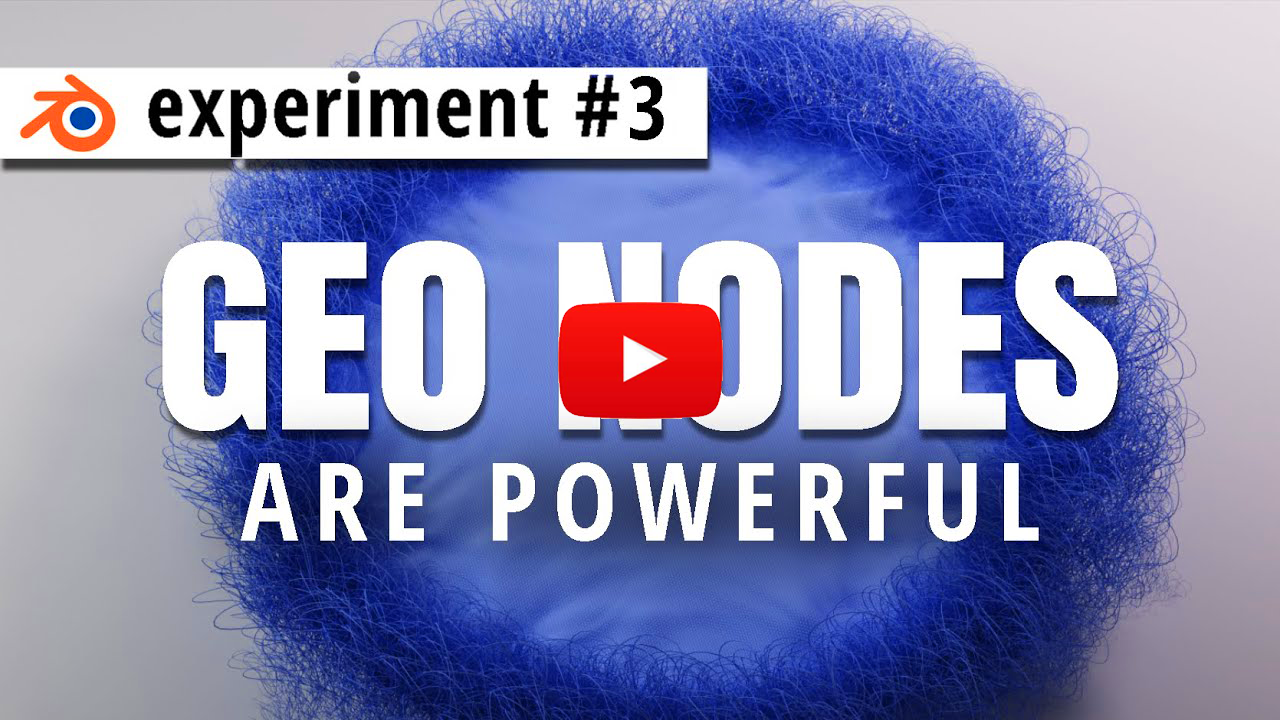
If you've ever been fascinated by the world of 3D modeling and animation, you're well aware of the power and versatility of Blender. This open-source software is a must-have for any 3D artist, and it has evolved significantly over the years, incorporating a multitude of features and improvements. One such addition is Blender's Geometry Node system, which can be used to create incredibly detailed and dynamic models and animations in a procedural manner. Today, we'll explore how I used this system to create a knitting simulation that's not only realistic but also highly customizable. This system is one I personally developed in Blender using similar techniques other artists have done using SideFx’s Houdini software. A nice addition I implemented was some some secondary noise displacement that follows the knitted loops thus creating a faux-cloth simulation effect.
The first step to creating this knitting simulation was to generate a grid or plane that would serve as the foundation for the knitted pattern. To achieve this, I took advantage of Blender's Geometry Node system and the power of instancing. Instancing is a technique in which multiple copies of a single object are created in a virtual environment, allowing for efficient rendering and resource management.
In this case, I instanced cubes onto a grid or plane, which had been displaced using a noise texture. The noise texture added a sense of depth and randomness to the grid, simulating the variations you'd find in a real knitted fabric.
After instancing the cubes, the next step was to replace them with “knitting loops” that more accurately depicted the desired texture. To do this, I created a loop using curves, which allowed for a more organic and flexible shape.
The instanced cubes were then replaced with these curved loops, giving the appearance of knitted yarn. This technique added a more realistic touch to the simulation, as the loops could be shaped and manipulated to resemble the unique characteristics of knitted material.
Controlling the Scale with Empty Objects: In order to maintain control over the size and density of the loops, I used an empty object within the Geometry Node system. This object served as a reference for scaling the loops, ensuring that the knitting pattern remained consistent throughout the entire grid or plane.
By controlling the scale of the loops with an empty object, I could easily adjust the size and density of the knitting pattern without manually resizing each loop. This level of control and customization is one of the key benefits of using Blender's Geometry Node system.
The Procedural Advantage: One of the most significant aspects of this knitting simulation is its procedural nature. Thanks to the Geometry Node system, I was able to manipulate and control various parameters of the animation throughout the entire process.
For example, I could easily change the scale and amount of loops, adjust the noise texture for the grid, or even modify the shape of the individual curves. This procedural approach not only saves time but also grants the ability to make adjustments without starting from scratch.
Blender's Geometry Node system has proven to be a powerful and versatile tool, enabling artists to create intricate and realistic simulations in a procedural manner. Our knitting simulation is just one example of how this system can be used to bring creative ideas to life. By instancing objects, using curves, and controlling scale with empty objects, I was able to produce a dynamic and customizable knitting animation that demonstrates the endless possibilities that Blender has to offer.

